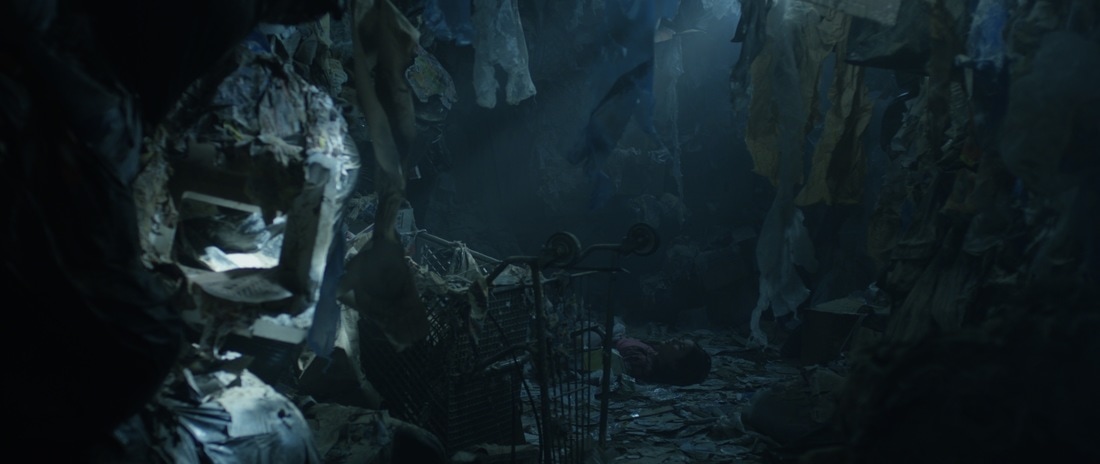
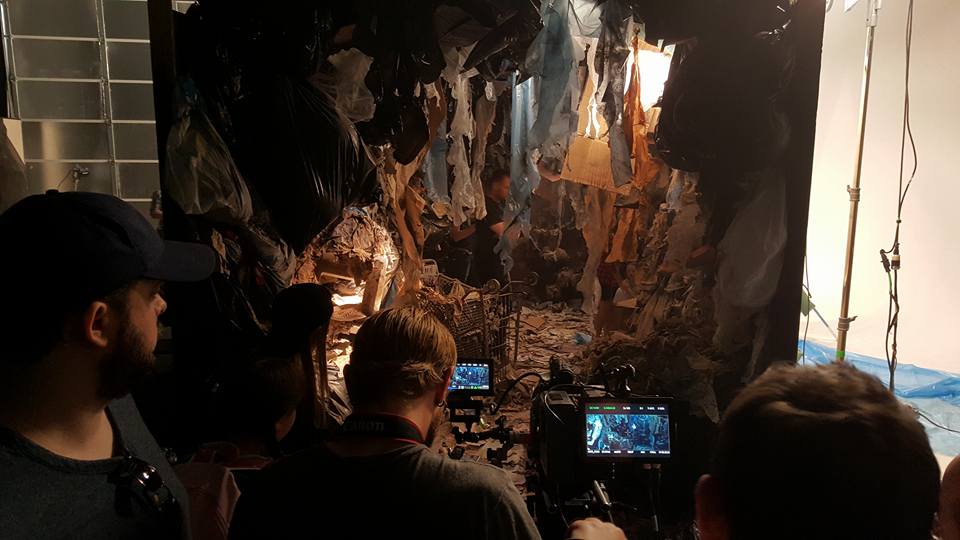
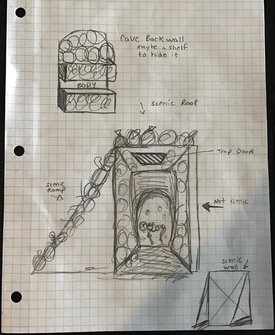
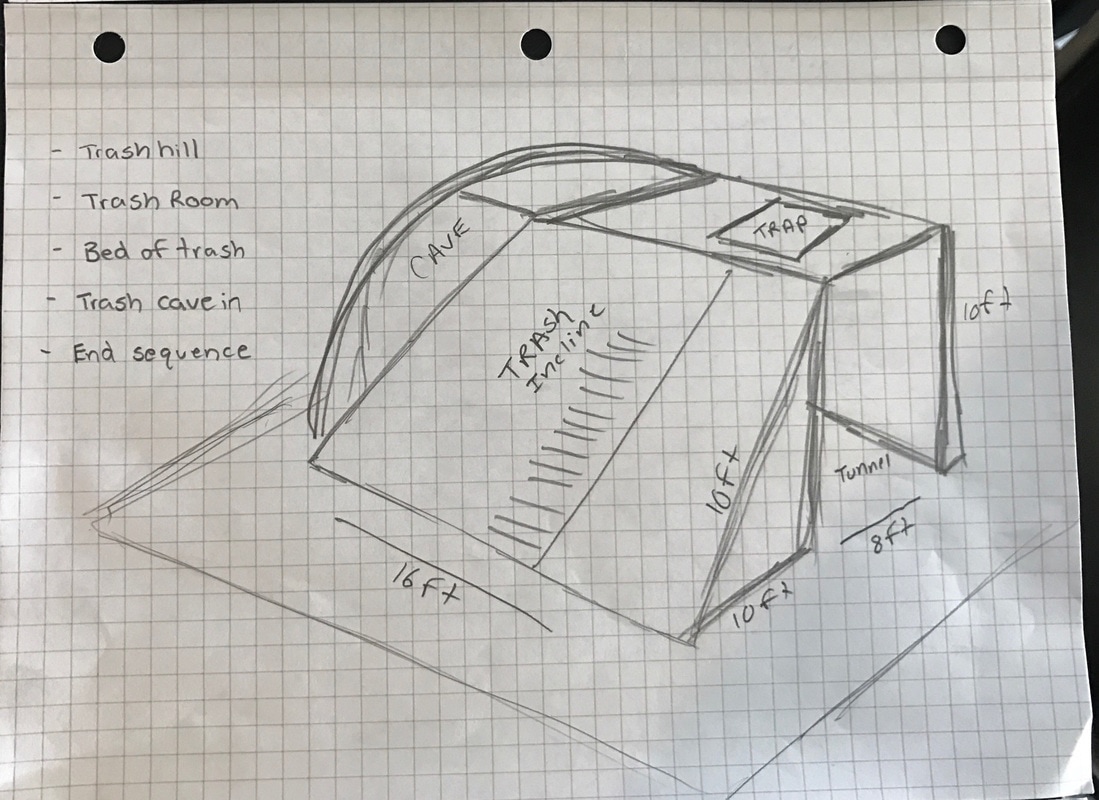
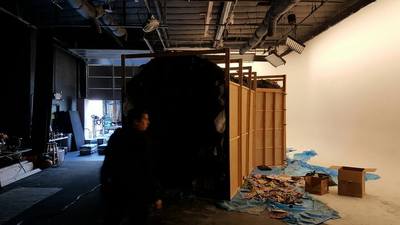
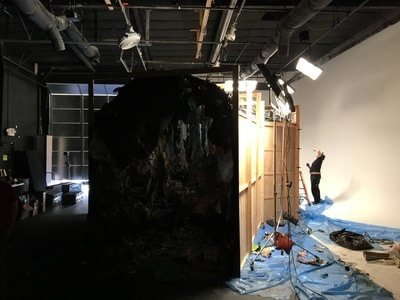
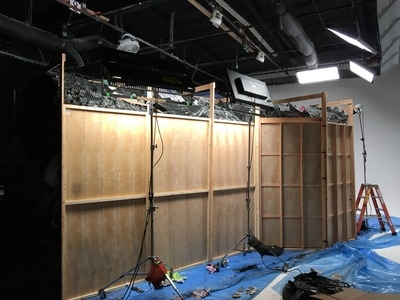
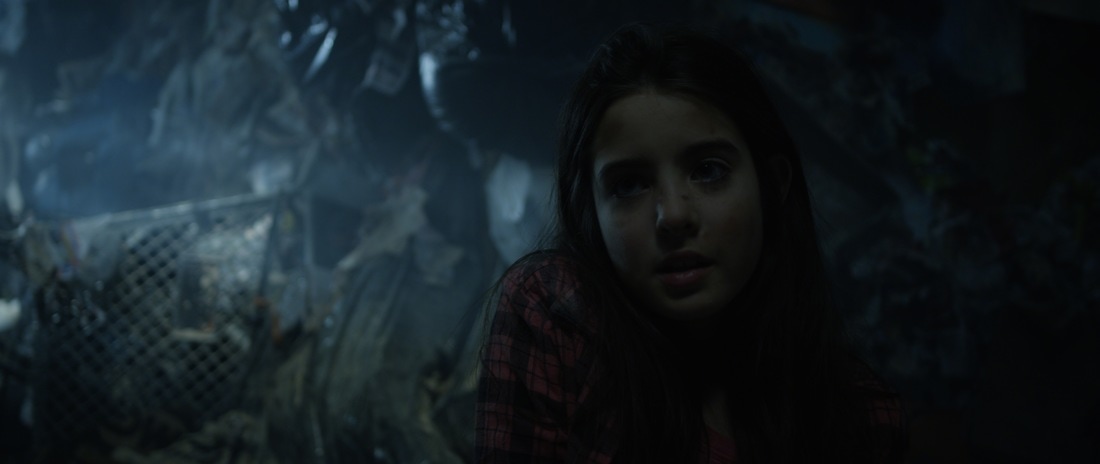
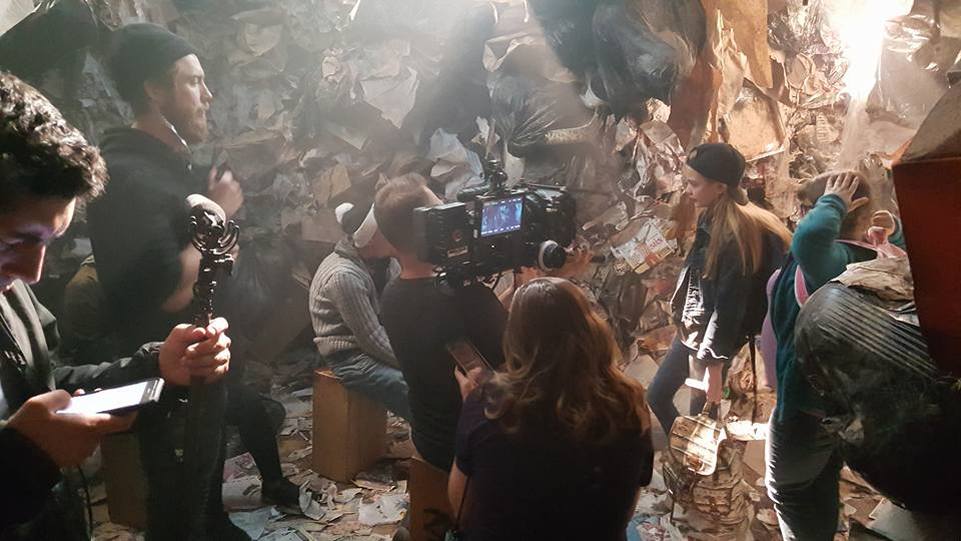
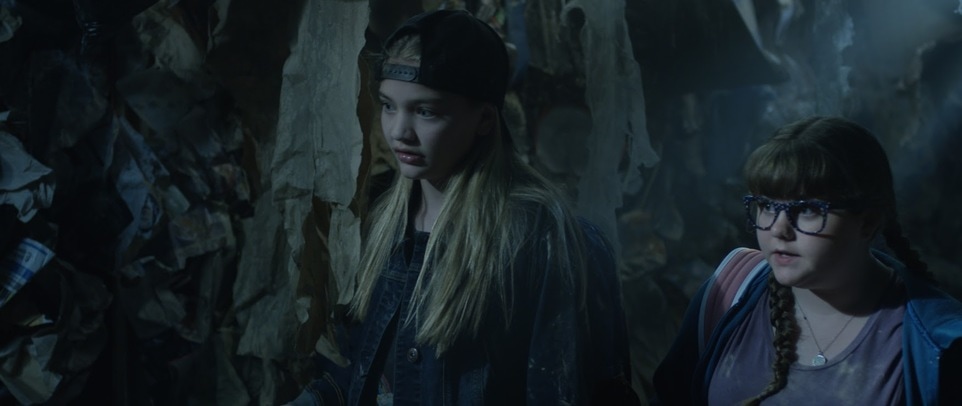
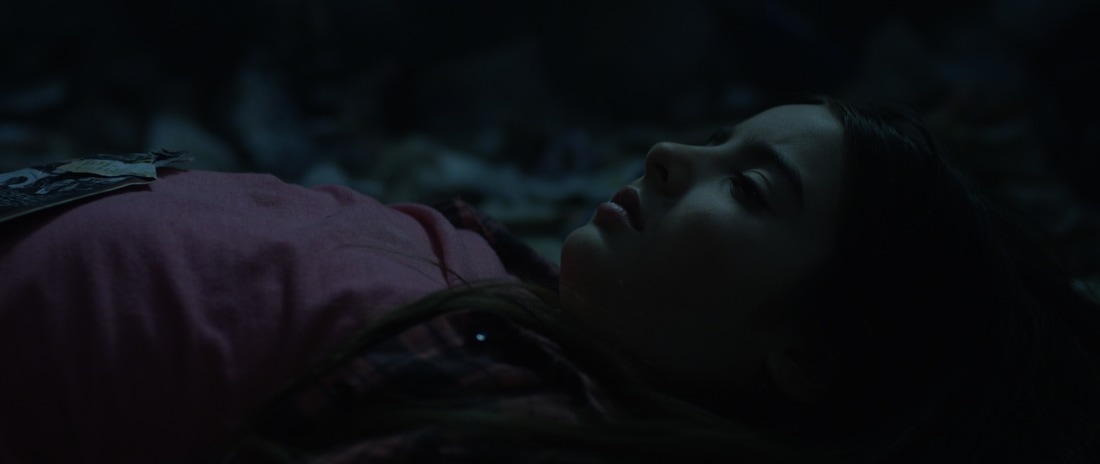
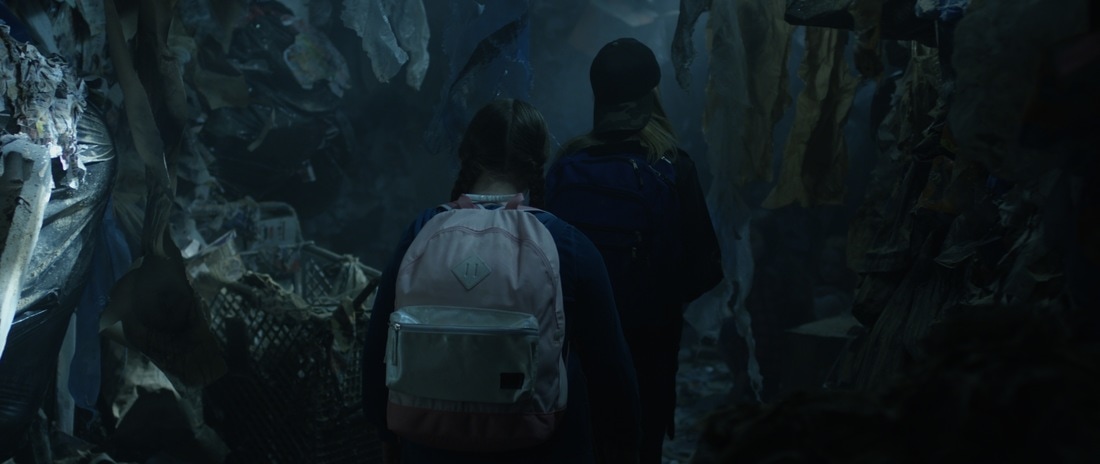
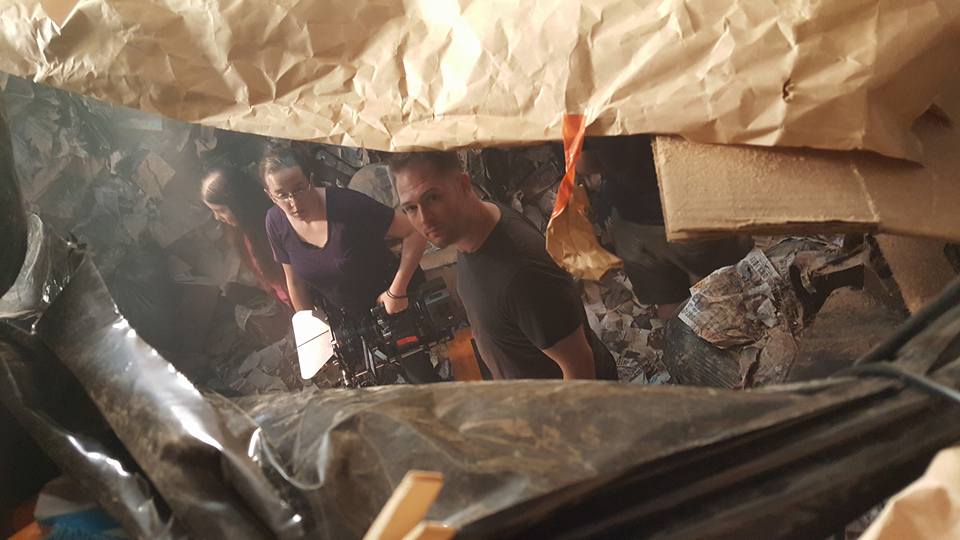
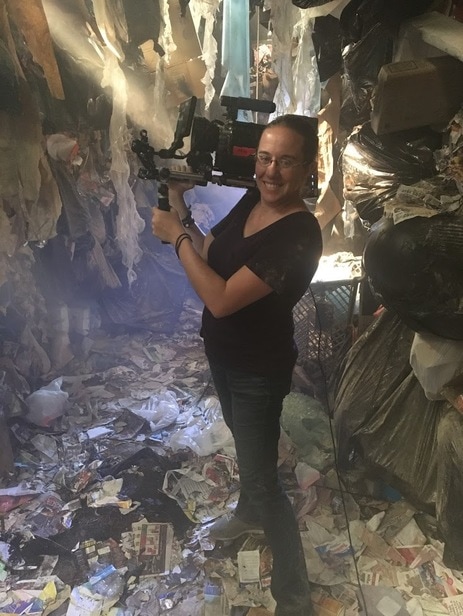
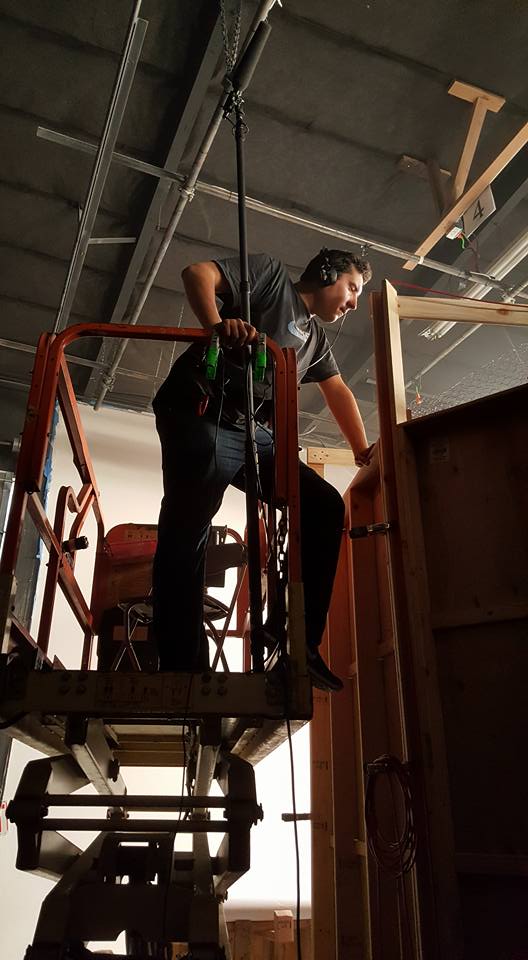
How do you light 360... underground... at night? Recently I was presented with that interesting challenge on the set of Landfill, to light the inside of an underground tunnel of trash. The first challenge is just what do you imagine when you read in the script about a tunnel built completely of trash? How can you start to conceptualize a lighting style when you can't even imagine all the textures and limitations of a tunnel made out of garbage? The tunnel in the script was written a very dark, with light beams. The way to get light into beams is to have a very powerful and focused source, along with something in the air to make it volumetric. That is to say, something for the light to grab onto. For these small beams I would need holes in the tunnel, and I couldn't fill in the space too much without loosing the beams. Designing the tunnel This is where the help an amazing production designer and art department really show their talents. Within the first week of pre-production we had some easy to follow diagrams for the tunnel, something to get the conversation started. We knew our goals, we had three children who had to fall into this tunnel and find a dead body. Sounds simple enough, right? It had to be large enough for all of the children along with the camera and crew to fit inside. I worked along side our production designer Burns to make sure his plans would work for the lighting I was going after. Fill to taste To start with I added in a fill layer of ambient lighting. I used five kinoflo image 80s, which are eight 4' kino tubes in a studio style fixture. We went with tungsten to match the rest of our lighting kit. The really unique thing about this setup is that the garbage material we used was translucent. By making an array of these large kinoflo sources we were able to introduce our ambient fill and let the light bleed through the ceiling garbage. Light beams and bounce For the light beams I used eight source-4 lights with 19° lenses. While we could leave the fill lights covered and let them light through the ceiling garbage, only making them softer, the little spot lights needed gaps created in the ceiling and sides. Lighting and Grip teams worked with art to find the right areas to open, we would point the light through, then cover as needed to make it look good for camera and hide any holes. Source-4's and lekos are some of the most versatile tools in lighting. I always include a few of them in any lighting order. Think of them like little spot lights. We filled in the gaps between the image 80's with these lekos. Sometimes the lekos would move around depending on the shot and talent. Light beams are at their most pronounced when aiming towards the camera. We tried not to move them as much as we could get away with it as this is like threading a needle, trying to get a beam of light through a small gap in the garbage. I used a DF-50 hazer to create the haze that the light was able to catch. These are sometimes referred to as god rays, but that's more in the context of when beams of light break through clouds. Once the lights were up I would have my Key Grip Sean McQueen bring in a small pizza box bounce card to fill in any remaining spots or to act as an eye light. Camera settings We shot Landfill on the Red Dragon with Zeiss cp.2 lenses. The CP.2 line of lenses tends to lean a bit on the cooler side. That cooler bias was used to our advantage and we shot with a lower color temperature of 2000k. This was a very moon lighting style approach to the color temperature and tone of the scene. I also desaturated the image in camera slightly. We shot in R3D format and the intention is to refine this look in the final color grade, because these settings are recorded nondestructively in the camera. All of the images in this blog post are straight from the camera with no additional grading or processing. Shooting with a look in camera or a LUT on the monitor gives everyone working on the project a very strong idea of what the final will look relatively like. You're better able to make creative decisions on the fly and as you see things happening. Behind the scenes walk through of the set. Bonus for Audio Going into this setup I thought that audio would have a really hard time. Turns out they were able to use the scissor lift to easily boom over the set.
|
AuthorWill Turner is Cinematographer working in Los Angeles. Archives
June 2019
Categories
|
© WILL TURNER 2022



 RSS Feed